Hi Crafty friends! Today I'm sharing my second project using the gorgeous Vintage Queen Bee digital paper kit from Ephemera's Vintage Garden. This creation features some vintage family photos of my Mom, my Brother, and Myself. Mom was definitely the quintessential Queen Bee in the family, so I was really excited to receive this paper collection to work with. The papers are stunning, just look at all those bees, and vintage colors to die for! To create this wall piece, I chose to combine these lovely papers with a honeycomb shaped display tray from Gina's Designs. Yes, it's a match made in Crafty Heaven!
I always like to say that these kits can be used for many projects and in many ways. Why not as you can print it again and again, but this kit is also perfectly designed to create a complete journal with everything you need. I have included a link from the designer of this gorgeous paper that demonstrates just how easy the kit can be put together as a journal, ready to embellish in any way you like. That video is HERE.

Products used:
Digital Paper Kit by Ephemera's Vintage Garden the Vintage Queen Bee Printable Journal Kit
Check out Debbie's other gorgeous papers, and sign up for some amazing freebies HERE!
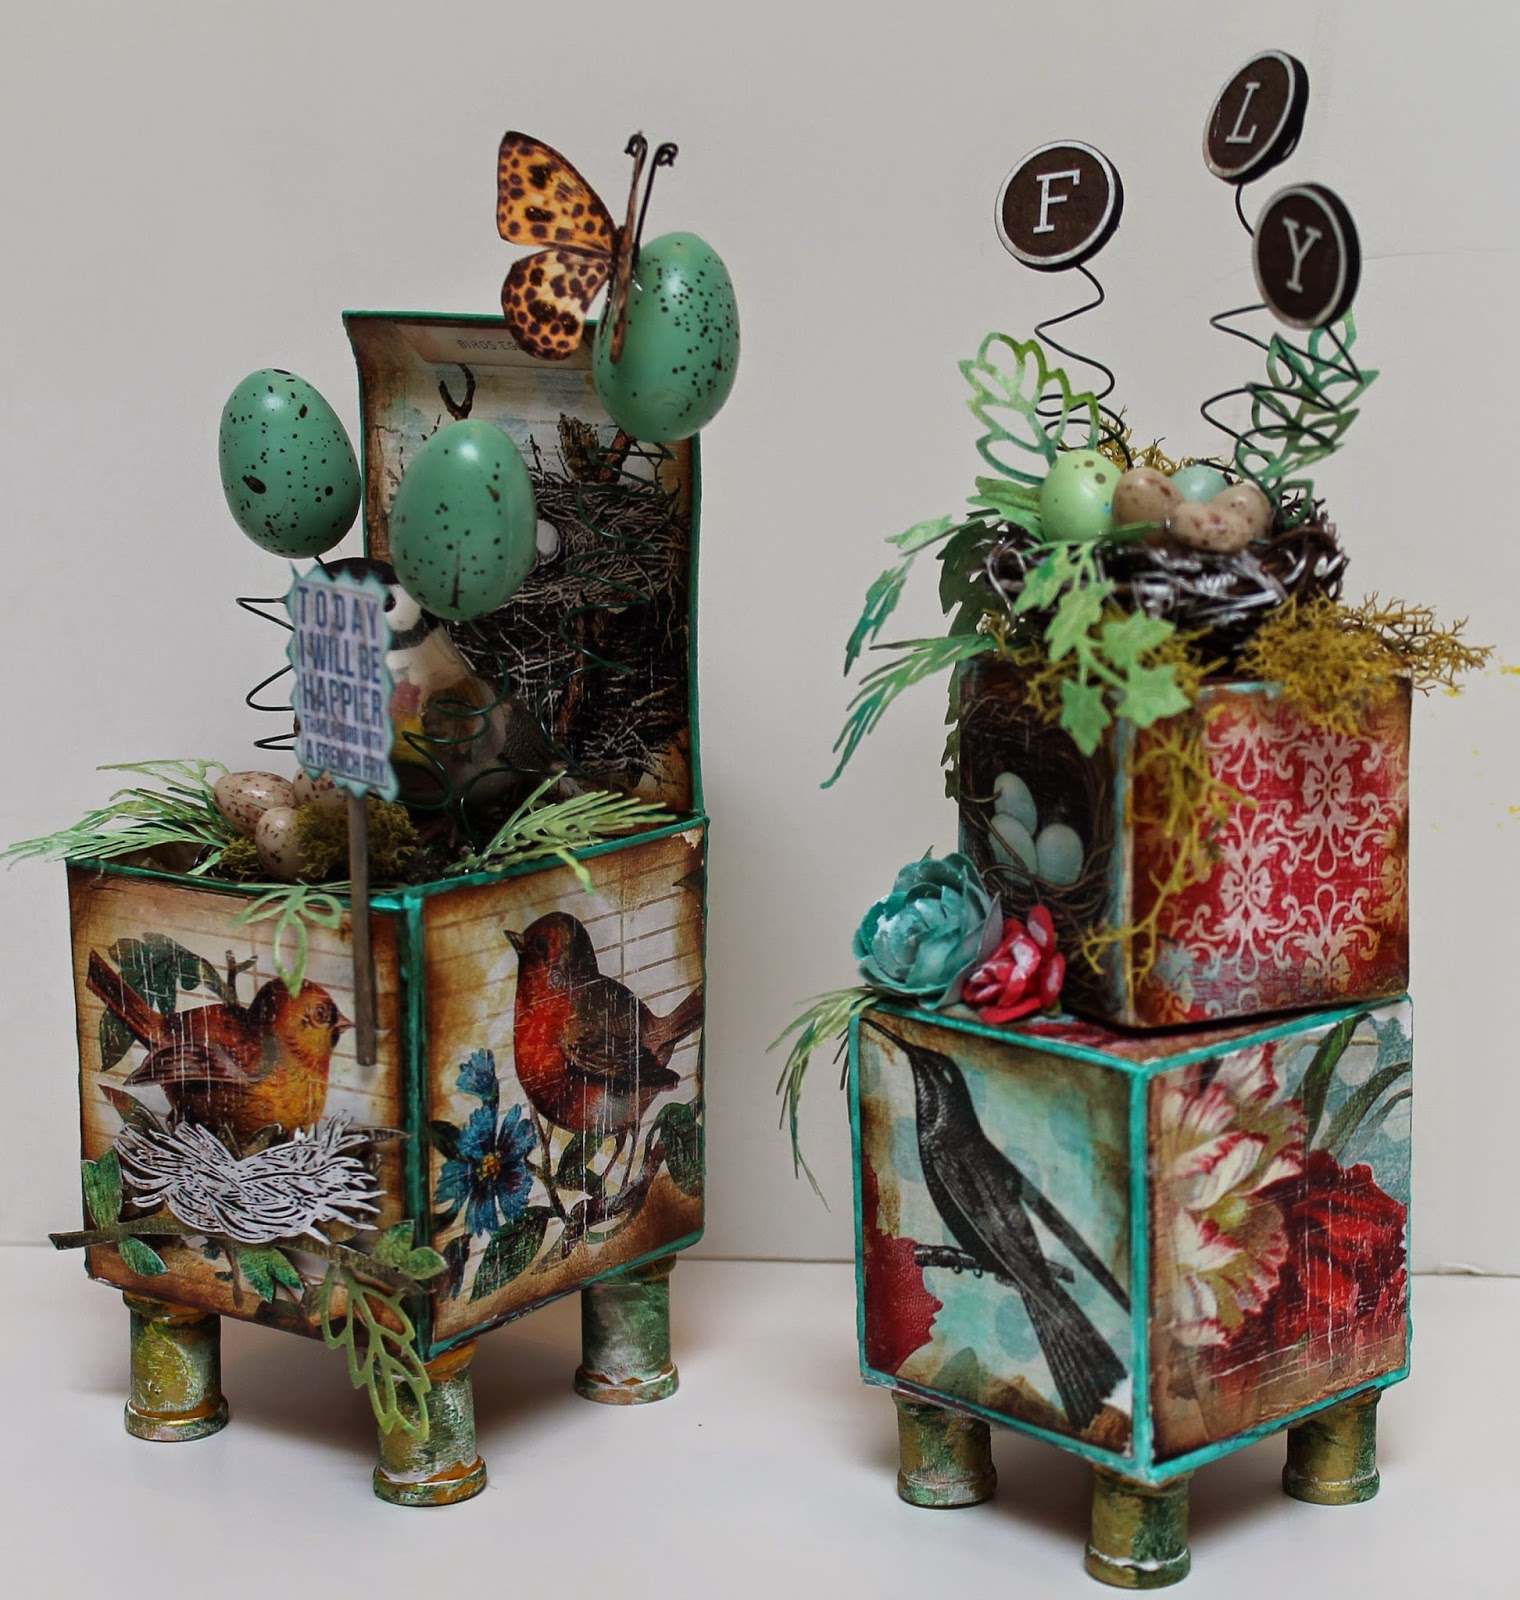
Honeycomb Display Tray by Gina's Designs
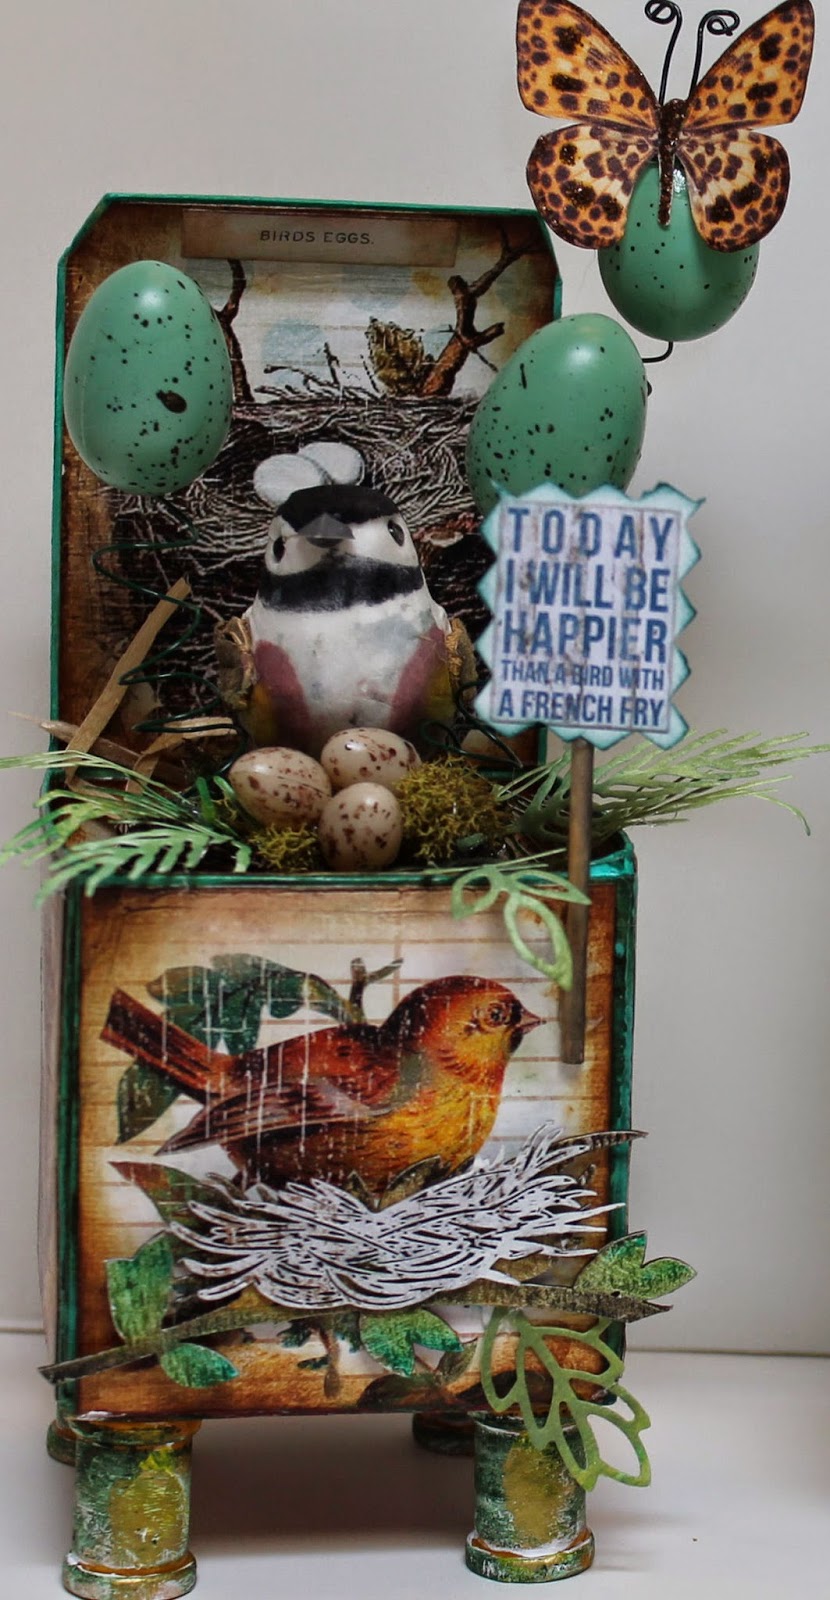
Butterfly by Renea Bouquets